Monday, November 25, 2019

Cocoa Vanilla Studio | Love this CRAZY Life


Hi Scrappy friends I'm back today with a new layout share for Cocoa Vanilla Studio. This one features the beautiful Unforgettable collection, a cut file from CUT to YOU and a couple crazy photos of this little family of mine. Love how it turned out, and it all came together so quick!


To begin I resized the cut file in Silhouette studio, backed the seperate words using 2 pattern papers (both sides of Sprightly) from the 6x8 paper stack then adhered to the centre of the page using foam tape. Next I added the photos that were printed slightly smaller than 3x4 size and layered with a couple more pattern papers (reverse sides of Unscriptedand Garland) from the 6x8 paper stack. I cut the main white cardstock backing down in size so that I could mount in onto the beautiful floral pattern paper Glorious for even more colour.


I used 1 large floral ephemera piece, that I cut in half, to create clusters of embellishments to the top left and bottom right of the cut file. I also added a couple extra florals and hearts from both the ephemera and clear sticker pack.


On each photo I've added a heart that was left over from a previous layout I created using the awesome wreath of hearts in our FREE Cut file set. Theres also a couple more ephemera pieces and stickers tucked into the layers beneath the photo.


Lastly I added a couple of enamel dots and a splattering of gold ink and called it done. A nice quick layout thanks to that massive cut file title.

Well thats all from me today, be sure to stop by the Community group on facebook to chat all things Cocoa Vanilla Studio. And don't forget to use the hashtag #cocoavanillastudio when sharing your creations on instagram and Pinterest.

Thanks so much for stopping by! Until next time, happy scrapping..
Michelle xx


x

Monday, November 18, 2019

CUT to YOU | Oh What Fun


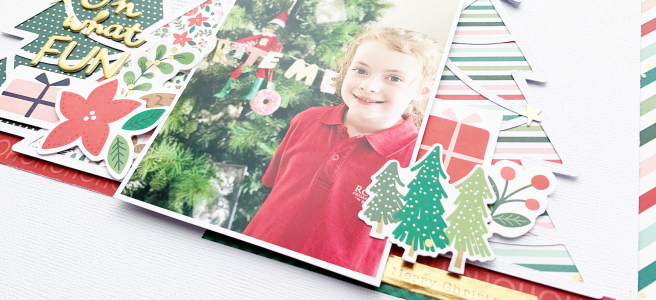
Hello Crafty friends! I'm back here today with my 2nd share for CUT to YOU this month and boy am I excited about this one! I got myself into the Christmas spirit well and truly with this cut file and I absolutely LOVE how it all came together.


I've used the Christmas Tree Row from last months release after being inspired by a layout made by our one and only Boss Lady, Gwen. I increased the size of the design in Silhouette Studio and cut it out on white cardstock before cutting the design in half to layer under the photo I chose.


Our cheeky house Elf gave us a not so subtle hint to decorate the tree last year and Leila thought it was hilarious! I chose the collection I've used based solely on the colours from the photo, which are all very bright and christmasy.


I've used 6x6 papers from the Merry Little Christmas collection by Pebbles to back all the trees. I adhered the tree cluster to the left of the photo using foam tape, then did the same with the trees on the right. The photo is popped up slightly higher using a piece of foam sheet. I didn't layer any more pattern papers under the photo as I felt it looked best without


I added gold and silver glitter paper to the stars on top of the trees, adhered with tiny staples, then layered a second star on top of the first to give them a little extra dimension


I kept the embellishing very simple with just a couple of ephemera pieces and a gold puffy letter title. The red HOHOHO strip was from the bottom of the candy stripe paper that I used to matt the white cardstock within the wash tapes layered bottom right of the photo are from the same collection.


Well thats all from me today. Short and sweet, but so much fun!

Thanks so much for stopping by. Be sure to pop into the CUT to YOU HQ to share the love of all things CTY and don't forget to tag us on instagram when you've created with our files.

Until next time, happy scrapping
Michelle x


Tuesday, November 12, 2019

Cocoa Vanilla Studio | Love your Snapshots


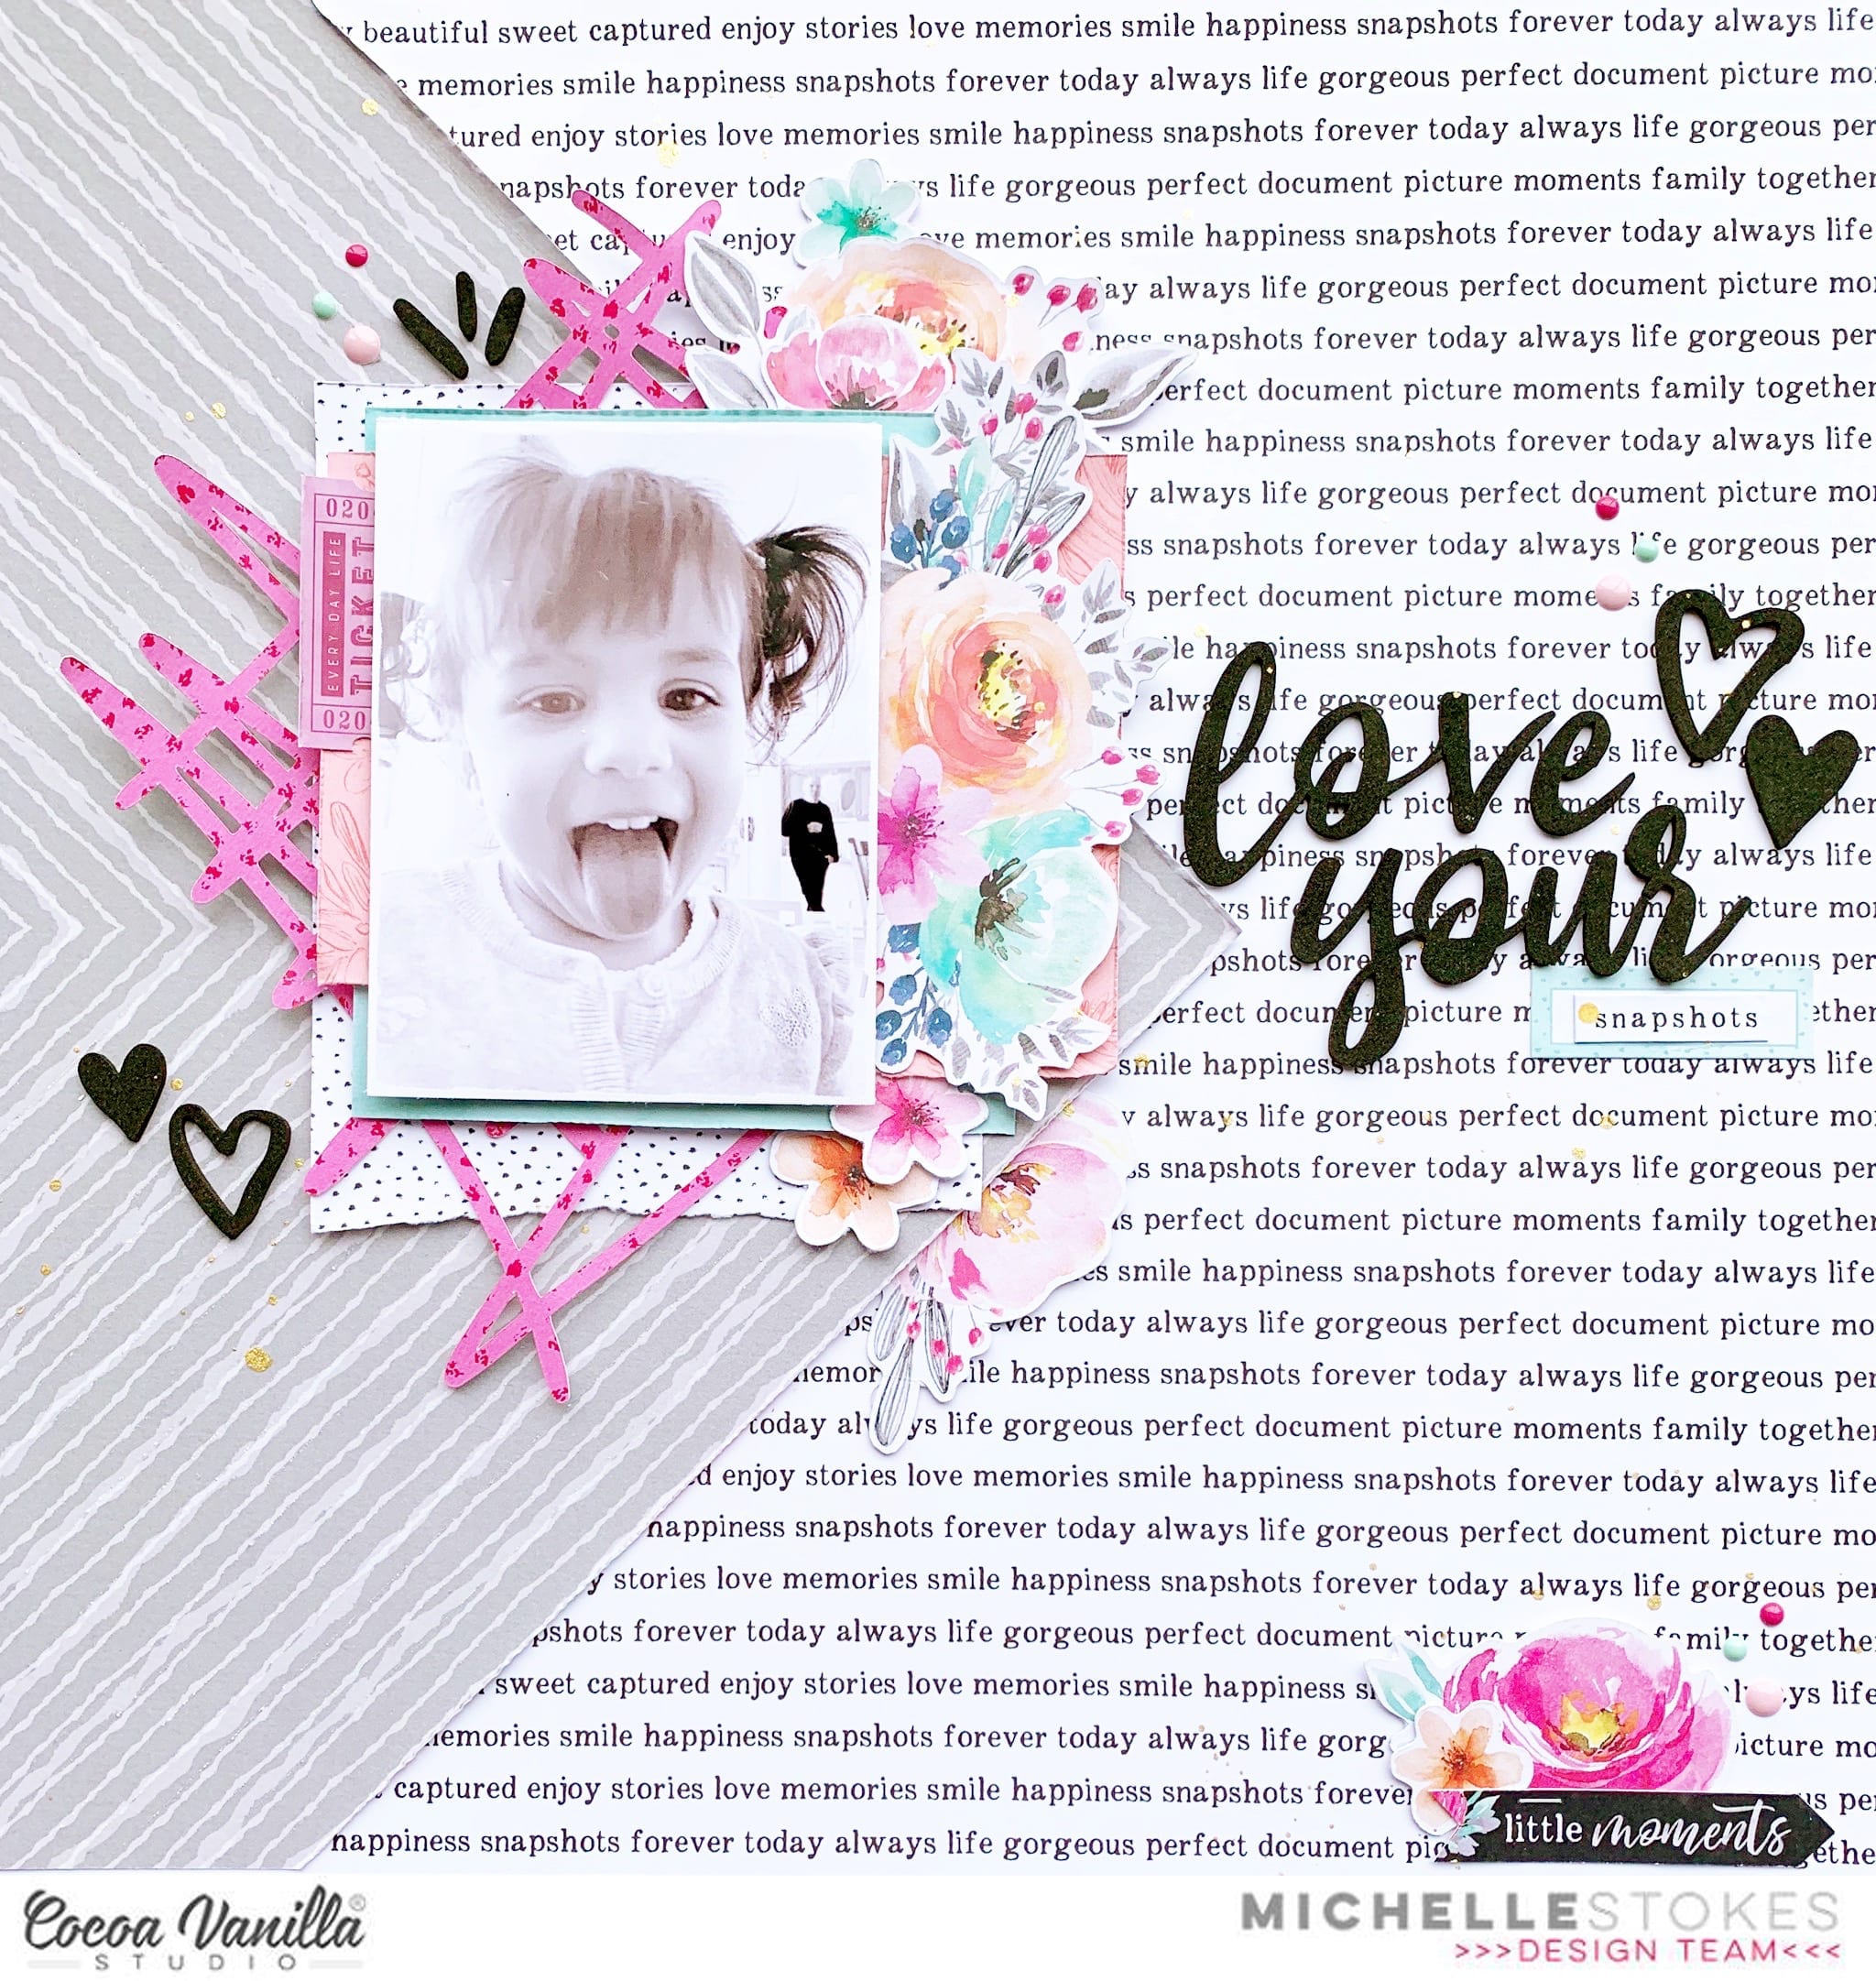
Hello Hello I'm back today with a new layout to share for Cocoa Vanilla Studio. I've used the stunning Unforgettable collection again for this creation to tie in with our current 'white out' challenge. What a challenge it was for this lover of white cardstock to create something using pattern papers as my background paper. I think I did ok?


I chose a super cute selfie of my little niece as I felt it was time to scrap something other than another photo of Leila. This sweet little lady LOVES a selfie, and this photo is one of many in my camera roll that needed to be documented.

I started the layout by creating the photo stack using multiple pattern papers layered together with a fun messy cut file from CUT to YOU. I added pieces of foam between the layers to create more dimension.


Next I played around with multiple pattern papers for the background, and I mean multiple as there is so many wonderful patterns within this wonderful collection its hard to decide on just the one. I finally settled on 2 B side pattern papers - the black on white text paper "PRETTY BITS" and the grey squiggly chevron pattern "GLORIOUS". I turned the chevron paper on its side and cut a triangular shape to adhere to the left side of the background


Next up I adhered the photo stack to the background papers using more foam tape for even more dimension. Cant help it, must add the dimension lol


I tucked loads of florals from the ephemera pack into all the layers for extra pops of colour before creating a title using the foam title stickers and an accessory word sticker


I chopped the R off the word 'our' from the pack to create the word 'your'. The black hearts can also be found in the title stickers pack


Lastly a little hint of florals and black along the bottom right corner to balance all the elements of the layout. I added a sprinkling of gold ink and some enamel dots and called it done.

I hope you've enjoyed seeing my take on our White Out challenge just as much as I enjoyed creating it. Be sure to share all your crafty goodness with us in the CVS Community group on facebook, and don't forget to tag all your shares on Instagram using the hashtag #cocoavanillastudio

Thats all from me today, thanks so much for stopping by.

Until next time, happy Scrapping!
Michelle xx


Monday, November 4, 2019

CUT to YOU | OH SO Pretty


Hello Hello, Its me back again today with a new layout to share with you all for CUT to YOU. I've used an older cut file designed for use in Travellers Notebooks for this creation, but as you can see its perfect for layering into a 12x12 page.

I cut the INTERSECTING HEARTS design in silhouette studio on a bright pattern paper from the Paige Evans Whimsical collection. It's approximately 11 inches long from top to bottom. I used the same pattern paper for the base of the layout, under the white cardstock background, to make the cut file and photo stack really pop. I adhered the file to the cardstock using my tiny attacher.


Next I gathered a few other pattern papers from the same collection to layer behind the photo, I've even tucked in a few ephemera pieces


The photo I chose to document is one of Leila and her favourite bear from a couple years back, they were pretending to be Kind and Queen. So cute!


I kept the embellishing pretty simple with a few more ephemera pieces and a small title, plus a splattering of gold ink and some hand written journalling.


Well thats all from me today, thanks so much for stopping by. I hope you've enjoyed seeing a short but sweet layout share using an older TN file for something other than TN scrapping.

I'll be back again soon with another share, but until then be sure to stop by the CUT to YOU group on facebook to share all the things you love about CTY. The CTY shop has also just had a restock recently so don't for get to check that out too!

Happy Scrapping
Michelle x


Friday, October 25, 2019

Cocoa Vanilla Studio | Hello

Hello Crafty Friends! I'm back here today with a fresh new layout for Cocoa Vanilla Studio using the super sweet Unforgettable collection and some oh so adorable photos of Leila from a few years back. I went all out with loads of pink for our current Think Pink theme, in honour of Pink Ribbon day (yesterday). There are so many variations of pink within this collection, and it was hard not to use it all.


I started the layout by cutting the loopy hearts cut file from CUT to YOU on the reverse of UNSCRIPTED paper. I also used the same pattern as the backing/border for the layout. 


I chose 2 sweet photos of Leila and printed them in B&W and slightly different sizes, framed one using the photo frame from the Happiness Collection ephemera pack, and adhered them over the right side of the cut file piece using foam tape. I tucked all the floral elements and ephemera pieces (some are fussy cut from the 6x8 GLORIOUS paper) under the frame to the left of the layout using different forms of adhesive for loads of dimension. I also tucked in a heart from the heart wreath cut file I used on a previous layout that complimented the subtle hints of turquoise I've added in to break up all the pink. Don't get me wrong I LOVE pink, but theres only so much one lover of pink can handle HAHA 


Over on the right side of the photos I added an extra ephemera piece and some text pattern paper from the 6x8 paper stack, its the same design as the reverse of PRETTY BITS just in the smaller design. I altered a large floral ephemera piece to create a smaller cluster for the bottom of the photo. 


Kept the title super simple using a foam title piece and accessory sticker, then a couple of enamel dots and a sweet butterfly to finish it off


Lastly up in the top left corner I've added a black foam heart, enamel dots and accessory sticker before splattering the layout with 2 different colours of pink inks.

Well thats all from me today, thanks so much for stopping by. Be sure to share all your beloved CVS creations within our Facebook community group HERE, and use the hashtag #cocoavanillastudio when sharing on Instagram or Pinterest 

Until next time, Happy Scrapping!

Michelle xx


Friday, October 18, 2019

CUT to YOU | The Best

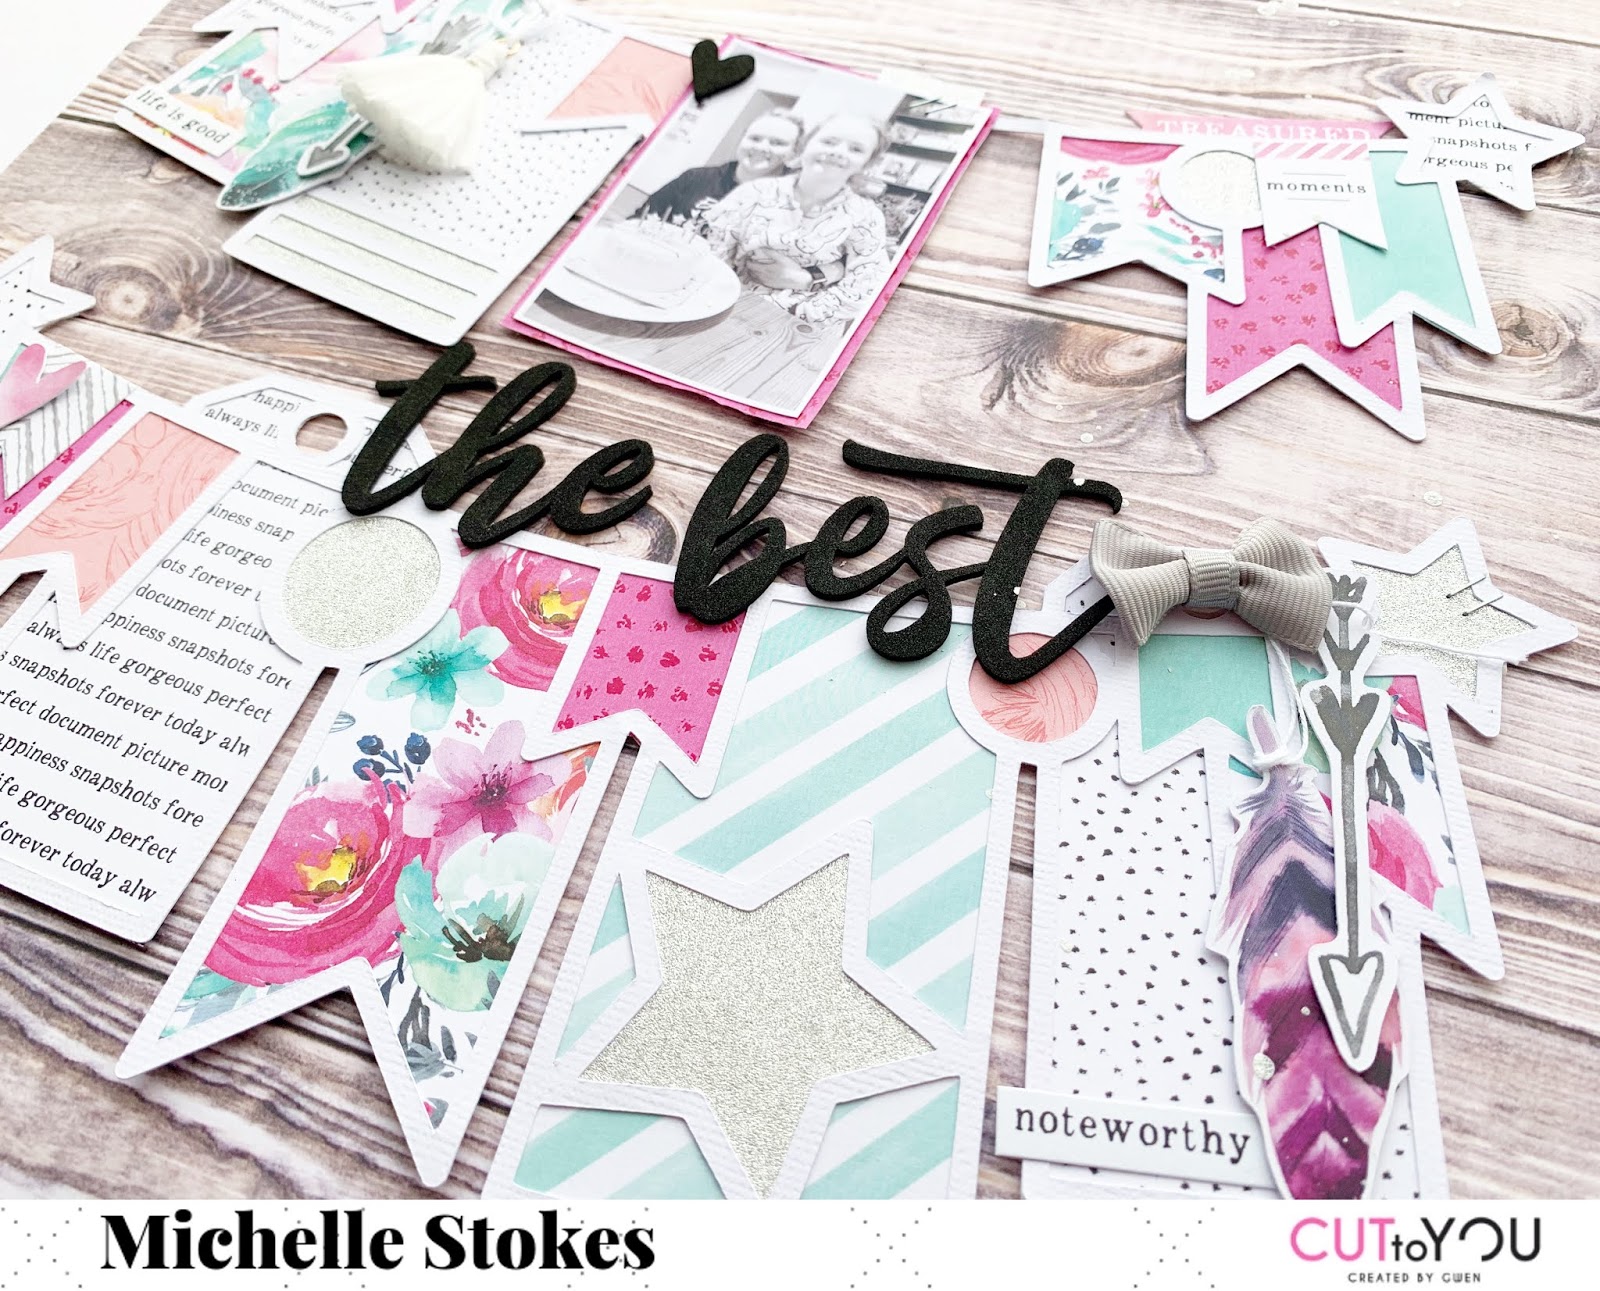
Hi Scrappy friends its Michelle back here today with a new layout share for you all. I've used one of our BRAND NEW cut files from the 2019 Christmas Release - the super cool Christmas Banner set.


This cut file is AMAZING! It cuts out so perfect and is super easy to back using loads of pretty pattern papers - especially the Unforgettable collection from Cocoa Vanilla Studio


Is definitely MORE than just a Christmas cut file. Super versatile for all the celebratory photos you want to scrap, like the photo I've used from my birthday a couple months back. The multiple different pattern papers distract from the obligatory night time birthday cake photo that isn't super focussed HAHA


I made sure to balance the different patterns out across the page and didn't group similar patterns or colours together. I even threw in a little silver glitter paper for a hint of sparkle here and there.


The entire cut file was cut on white cardstock using my silhouette machine. I think I resized the design slightly to ensure it took up a good chunk of the background paper. I adhered it to the backing pattern paper using some foam tape for dimension. You all know how much I love a little dimension on a layout to make it POP!


I added a couple of complimentary embellishments here and there, but not too many as there was already so much going on around this page


Love love love layering different complimentary patterns together


Well friends that is all from me today. Thank you so much for stopping by! Be sure to check out ALL the new files loaded in store HERE, and check into our facebook group - CUT to YOU HQ to chat and share all things CTY

Until next time, Happy Scrapping

Michelle x


Friday, October 11, 2019

Cocoa Vanilla Studio | Shine Bright

Hello there! I'm back today sharing a new layout for Cocoa Vanilla Studio using both the new collection Unforgettable and the FREE Cut files designed by Gwen. LOVE LOVE LOVE the designs within the set, especially the circle of hearts design. This whole layout came together pretty quickly by cutting one main floral piece, 1 massive cut file and then tucking random bits here and there.


I started by cutting the design out in silhouette studio using the reverse of the GARLAND paper and then adhering it flat to the white cardstock using the centre edge only. I curled all the hearts up for a touch of dimension. Next I fussy cut the entire wreath design from the same paper and adhered this to the bottom half of the cut file using foam tape.


When it came to the photo I didn't want it to stand out or compete with the florals, I felt it needed to blend together so I printed it out in black and white. I chose a close up photo of Leila from a few years back as its one of my very favourites. I backed the photo using the woodgrain pattern of the NATURAL BEAUTY paper plus a couple of off cut strips from the 6x8 paper stack I used on previous layouts. I tucked the right side of the photo under the layers of florals and ephemera pieces. I also added a couple of the leaf strand cut files from the FREE SET.


To the left of the photo I added the title using the new foam title words and a stack more bits from the ephemera pack, a flair button, clear sticker and enamel dots to mirror the opposite side of the layout.


Once I felt the entire circular design was a good balance of florals and colours I splattered it all with gold colour shine, including the photo as I ALWAYS forget to cover it up. Super happy with how this turned out, pretty similar to the idea I had in mind when I started which is pretty good. It doesn't usually run so smoothly HAHA

Well thats all from me today, thanks so much for stopping by. Be sure to pop by our facebook group to chat all things CVS and don't forget to download the FREE cut files!!

Until next time, Happy Scrapping

Michelle xx