Showing posts with label Christmas. Show all posts

Monday, December 16, 2019

CUT to YOU | December Magic


Hi crafty friends I'm back with my final layout share of the year for CUT to YOU. I went with a festive feel for this layout and scrapped a recent photo of our resident Elf on the Shelf. The one that gets up to all kinds of mischief this time of year.


This sweet photo documents our Elf's arrival on Leila's birthday. Every year she shows up with a basket full of Christmas goodies for Leila to enjoy as an early present from Santa.

The December cut file I chose to use was recently part of our 12 days of Christmas cut files and was perfect for creating one massive title on the layout.


I cut the design slightly larger than the photo and paper stack, and backed it using a pretty festive pattern paper from the Pebbles Merry Little Christmas collection.


I added the cut file pice to the right of the photo using some foam tape to lift it off the background


I tucked a couple of tags into the layers of the photo to create a cluster of embellishments along with the floral stickers


Along the bottom of the cut file I added the word MAGIC using some puffy stickers to finish off the title.

Well thats all from me today. Short and sweet to end the year just nicely.
Thanks so much for stopping by today and for all your continued support this year. I've really enjoyed being part of this team and hope to continue to provide monthly inspiration in the near future.

Until next time, happy scrapping!
Michelle x


Wednesday, December 11, 2019

Cocoa Vanilla Studio | Merry & Bright


Hi Everyone I'm back today with a new festive share for Cocoa Vanilla Studio. I've used the Unforgettable collection to document a sweet moment of Leila in front of the Christmas tree last year, right before she ripped into all the presents. The colours within this collection are perfect for documenting any occasion, even Christmas!


I chose a fun BIG cut file from CUT to YOU to used as the base of this layout and backed the open pieces of the letters using papers from the 6x8 paper stack. Perfect small designs that work wonderfully with intricate cut files. I couldn't choose one pattern to be the backing piece for the layout, so I chose the PRETTY BITS paper for all its wonderful colourful designs and added some of the grey GLORIOUS in place of the butterflies.


The patterns I used to back the cut file with are SPRIGHTLYNATURAL BEAUTYGARLANDGLORIOUSLACEWING & STORY TELLER


Once all three of the main parts to the layout were sandwiched together ( cut file, cardstock and backing pattern paper) I added the photo and embellishments. I added a couple of layers behind the photo to tie all the colours together - FORGET ME NOT, STORY TELLER & LACEWING

These are from the smaller 6x8 paper stack with the addition of the pink ephemera piece and heart from a previous cut file. The floral piece at the top of the photo has been fussy cut from the 6x8 glorious paper


I added one main floral cluster to the left of the photo using the large floral ephemera piece and a couple of extras tucked under and adhered with different foam tape. This added slight dimension at different heights to really make the layers pop.


Along the bottom of the cut file I added an extra floral piece, cut apart wordaccessory stickerclear sticker and some enamel dots. Lastly a splattering of gold ink and I called it done.

Well thats all from me today, thanks so much for stopping by! I hope you've enjoyed seeing my take on a bright pretty Christmas layout, without the use of traditional colours.

Until next time, happy scrapping
Michelle x

Wednesday, December 4, 2019

CUT to YOU 12 days of Christmas | Oh Joy

Hello and welcome to DAY 4 of our 12 days of Christmas GIVEAWAY!


I'm here today to share with you a page I’ve created for the CUT TO YOU 12 days of Christmas theme using the Snowflake Cut File, which WAS available for free download (04/12/19) and then for purchase from our Christmas collection after that.


I've used the Winter wonderland collection by Heidi Swapp to create this layout as I just love the colours and felt they worked well with the design of layout I was wanting to create. I resized the snowflake design within silhouette studio to 4 different sizes. 1 large piece to layer behind the photo stack and 3 individual snowflakes to 'hang' from the top left corner of the layout - to replicate the snowflakes our Elf created last year.


To begin the layout I cut the white cardstock down slightly and adhered to the red pattern paper then got to work creating the large photo stack. I used the larger snowflake as the base and layered a couple of pattern papers under the photos with some ephemera popping out here and there. I added some ribbon to the top of the tag and my title to the top of the photo using puffy letters and an ephemera word.


Next I adhered the smaller snowflakes to the top corner using glue dots, then added twine to each to make them look like they were hanging from the top of the layout. I added a few plain and snowflake sequins within this cluster along with a few ephemera pieces and a splattering of gold colour shine to finish it off

Thanks for stopping by and checking out my page, to get yours from the store check out the following details:

Simply enter the code: SNOWWAY at checkout to get this design for free. No additional purchase necessary. This code is only valid until midnight AEST on December 4th, 2019.

**No exceptions - Please check your time zone against ours here in Australia as we are a day ahead.

Coupon code must be entered to receive this item for free. No refunds will be given. The design will still be available in the CUT to YOU Cut file store for purchase after the discount code expires if you miss out. Come back tomorrow for another FREE cut file!

Happy Scrapping, Michelle xx


Monday, November 18, 2019

CUT to YOU | Oh What Fun


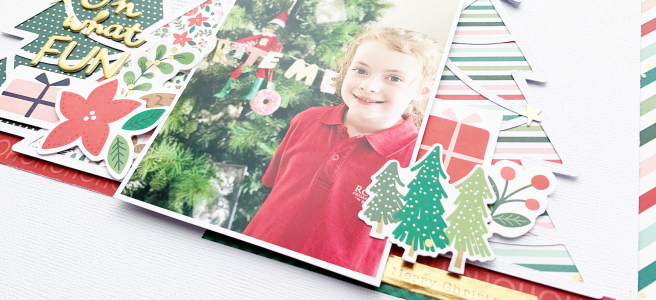
Hello Crafty friends! I'm back here today with my 2nd share for CUT to YOU this month and boy am I excited about this one! I got myself into the Christmas spirit well and truly with this cut file and I absolutely LOVE how it all came together.


I've used the Christmas Tree Row from last months release after being inspired by a layout made by our one and only Boss Lady, Gwen. I increased the size of the design in Silhouette Studio and cut it out on white cardstock before cutting the design in half to layer under the photo I chose.


Our cheeky house Elf gave us a not so subtle hint to decorate the tree last year and Leila thought it was hilarious! I chose the collection I've used based solely on the colours from the photo, which are all very bright and christmasy.


I've used 6x6 papers from the Merry Little Christmas collection by Pebbles to back all the trees. I adhered the tree cluster to the left of the photo using foam tape, then did the same with the trees on the right. The photo is popped up slightly higher using a piece of foam sheet. I didn't layer any more pattern papers under the photo as I felt it looked best without


I added gold and silver glitter paper to the stars on top of the trees, adhered with tiny staples, then layered a second star on top of the first to give them a little extra dimension


I kept the embellishing very simple with just a couple of ephemera pieces and a gold puffy letter title. The red HOHOHO strip was from the bottom of the candy stripe paper that I used to matt the white cardstock within the wash tapes layered bottom right of the photo are from the same collection.


Well thats all from me today. Short and sweet, but so much fun!

Thanks so much for stopping by. Be sure to pop into the CUT to YOU HQ to share the love of all things CTY and don't forget to tag us on instagram when you've created with our files.

Until next time, happy scrapping
Michelle x


Friday, December 1, 2017

Christmas Memories | Scrap the Girls

Hello! It's that wonderful time of the year when we get to start sharing Christmas theme creations! Todays post is for Scrap the Girls and the awesome new Mood Board that was shared yesterday.


Heres a look at what I've created, looking back at 3 years of Christmas Memories - the first 3 special years of Christmas for Leila. 


The main part of the board that I was drawn to would be the rustic looking advent calendar top right. I've replicated this look by creating something similar using 3 strands of textured twine on a woodgrain pattern paper from Cocoa Vanilla Studio and pegged multiple photos together with some pattern papers by Heidi Swapp and my favourite mini lace doilies. I've hidden the journalling behind the 2 lots of grouped photos and embellished with items from the D-lish Scraps store that worked with the kraft, white, black, gold & pops of red theme I was creating.

The first photo top left is from Leila's very first Christmas at only 16 days old. There was a lot of sleeping, and loads of cuddles for everyone this christmas, so special.

To create this corner I've used some pattern paper, and a couple of kraft journal its from D-lish Scraps  to create mixed layers under the photo, then embellished with some creative cuts, mini lace doily, faceted enamel dots, wood buttons and a peg that are also from D-lish Scraps.

Over on the right I've used a couple of photos from Leila's second Christmas, one including my Grandma/Leila's Great Grandma. This was the first year that Leila was able to enjoy the festivities we were part of, and she most definitely took centre stage in her super cute little baby Santa suit.  

I layered the 2 photos with some more of the red and black pattern papers a lace doily and a creative cut script word from D-lish on top. I also tucked some hidden journalling in with a creative cut underneath that can easily be pulled out to read, and pegged a kraft journal it to the top.

Here's a close up of the journalling about this year, and of the small title I created at the bottom of the layout.

The third area of the layout includes 2 photos from Leila's 3rd Christmas, the year Leila recognised Santa and was not so happy to see him. I've repeated the same items from the other 2 areas of the layout, but using them in a different way. This time the journalling is hidden within a card behind the photo of Leila and I. 

This was the year Leila really enjoyed, apart from Santa lol I added another creative cut to this section that can only be seen in full when the journal card is open.

We've come to the end of the post, thanks so much for stopping by!
I hope this layout has inspired you in some way, and that you are able to find some time within this crazy busy month to pay along with us all. Be sure to head over to the main Scrap the Girls post to see what the remainder of the team have created, and to upload your own personal creations. 

Until next time, Happy Scrapping!
Michelle xx


Friday, December 23, 2016

Christmas Tags | The Cut Shoppe

Hello Festive Friends! I hope you're all enjoying the lead up to Christmas Day. I can't believe that theres only 2 more sleeps until the Jolly man arrives and leaves presents under the tree! Speaking of presents, are you all sorted? As I write this up I am not. However I do have plans to head out soon and finish the last of it so I can wrap them up all pretty using some simple brown paper and these fun and festive tags. 

I've used a mix of Christmas designs from The Cut Shoppe store, along with an old Heidi Swapp Christmas collection I've been hoarding since its release. I love how they've turned out, and can't wait to gift them on to those we love this Festive Season.

Here's a look at the design sets I've used. The Magical Christmas set is one of our FREE designs this month. You can find it HERE

       
Tinsel Town                                        Tree Farm

       
Magical Christmas                             Out of Line Alpha

All these tags were super easy to create, and came together quite quickly.

I started with a plain tag for the base, then layered a few pieces together including a doily or ephemera piece and stapled or sewed into place 

I used a mix of white cardstock, pattern paper and glitter papers to cut the designs out

This cut file design I kept almost complete by sewing the holly leaf to the base and folding it upwards for dimension

I also used a mix of different ribbons and threads for the tops of the tags, more for decoration than to hang off the present. I can always tuck the tag into a ribbon around the present if needed

I made sure to make the most of the pieces cut out, including the negative piece of the snowflake circle. All 4 of the circle designs from the Magical Christmas Set can be used either way 

For the tags above I incorporated some twine and a bow with the gold reindeer silhouette piece, and the Letter F on the right has been used to identify that tag for a certain little person in our extended family.

Lastly these two I kept quite similar, using pattern paper under the cut file then sewing around the edge and hanging together with a tag. 

And here's one last look at a few presents already under the tree. I really like the simple look brown paper gives a present, enabling the hand made tags to stand out for all to see.

Thats all from me today, I hope this has inspired you into making your own handmade tags this Christmas. Thanks so much for stopping by. See you in the new year!
Have a Safe and Merry Festive Season!

Michelle x

Sunday, December 6, 2015

Santa's Little Helper.. Hip Kits November 2015

Hi Again!
Back today with another layout share using the November kit from Hip Kit Club
Another Christmas layout, this one of Leila's second Christmas. She had just turned 1, and oh my goodness she was too cute for words!

Not the best quality photo, didnt have a fantastic camera phone back then. But, its another photo and memory documented. So cute!

I mixed some alphas from my stash with the puffy ones that came in the kit, and added in a strip of black hearts washi tape, also from my stash

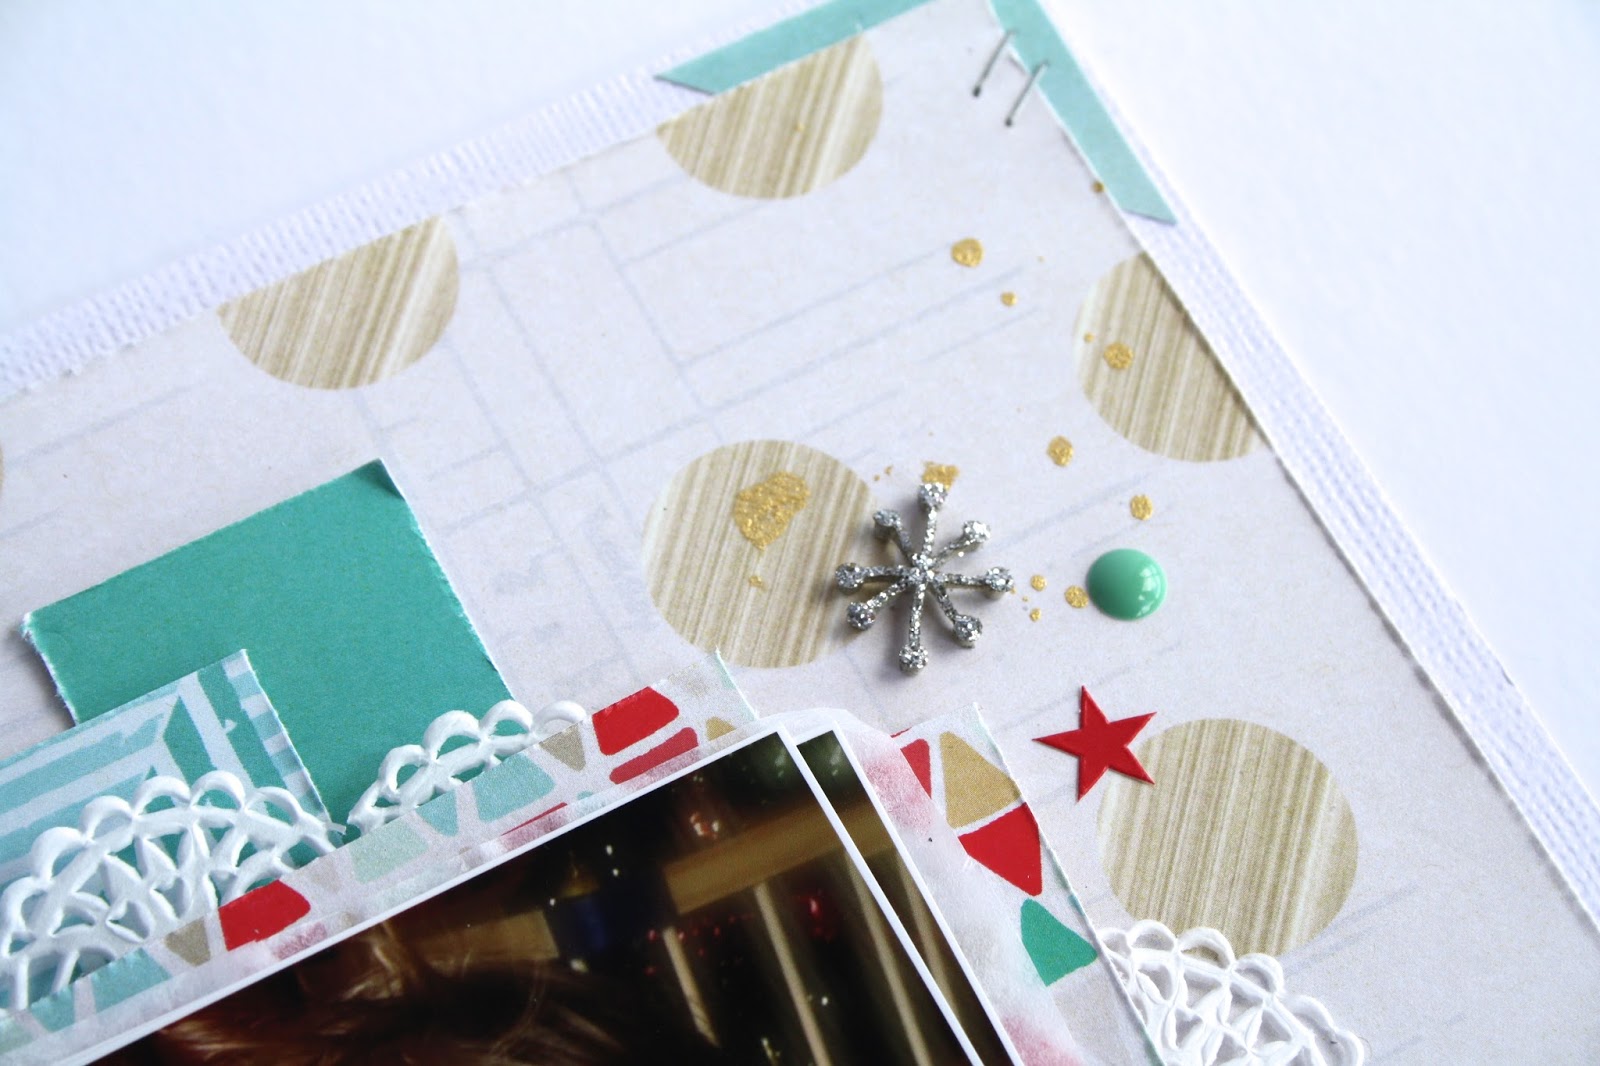
The little animal die cuts from the pack were so cute, and the tags and frames were just perfect for layering into a cluster with some enamel dots and a glittery 1

Even though we aren't in Winter here in Australia, the glittery snowflakes still look pretty cool on these layouts

Lastly, I've cut triangles from pattern paper for the corners as I felt there was too much white, crazy I know! A few splatters of Gold color shine and I called it done!

Thanks for stopping by
Happy Scrapping
Michelle x