Sunday, August 4, 2019

CUT to YOU | Beautiful You

Hello Crafty friends! I'm back here today with a new layout share for CUT to YOU using the wonderful All Around Floral cut file design along with a sweet photo of Leila from a few years back. I had SO much fun creating this layout. Lets take a closer look shall we?


For this layout I really wanted the cut file to be BIG, but not too big that it would take up the entire page. I've sized the file in silhouette studio to approximately 9x9 inch and cut it out on some textured white cardstock.


This design is so delicate and sweet. Its perfect for documenting sweet faces like this one...


I backed all the individual florals with different pattern papers, using green tones for the leafy areas and pinks, yellow and blues for the florals. I backed the photo with a complimenting pattern paper and a hearts pattern frame


I raised the entire cut file piece off the background paper to give it dimension. Doing this really brings a layout to life, and by using a thin foam tape ensures your not adding any unnecessary thickness to your albums.


I've added a couple of clusters top left and bottom right of the page using florals from the collection I used from Felicity Jane as I felt they complimented the All Around Floral cut file perfectly.


I also added a hint of machine stitching around the edge of the white cardstock after I adhered it to the pink pattern background. Lastly I added a date stamp, gold splatters and a couple of enamel dots to finish it all off.

Thanks so much for stopping by the CUT to YOU blog today. Be sure to head on over to the CTY SHOP as theres been a NEW RELEASE of designs for this month. Oh and don't forget to join our Community Group CUT to YOU HQ on facebook, where everyone is free to share their work using CTY designs 


Well thats all from me for today, until next time Happy Scrapping!

Michelle xx


Friday, July 26, 2019

Cocoa Vanilla Studio | Happy Times

Hello scrappy Friends, its Michelle here with a new layout share featuring the wonderful Happiness collection and the coordinating FREE cut files designed by fellow DT member Gwen. This was a super speedy layout to create, one that would be easy to recreate if you like the white on white background with pops of colour.


To begin the layout I started by making the background using silhouette studio. I traced only the wreath design from the FREE Cut file set then duplicated, mirrored and resized before cutting on white cardstock.


Next I adhered the pieces to a second piece of white cardstock and machine sewed them all into place, plus the stitching gives the layout a little more subtle detail.


I've used a piece of ** paper under the photo and a smaller strip of ** to add a pop of pink. Both of these designs are the smaller print from the 6x8 paper pad


TO create the Title cluster I've gathered bits from both the ephemera pack and accessory sticker sheet, plus a strip of my most favourite paper MEADOW


I created 2 smaller clusters top left and bottom right of the large outer wreath. These are made up of stickers and ephemera pieces, mainly florals layered with glue dots for slight dimension.


Lastly a splattering of gold colour shine and a date stamp and it was complete. Super sweet and oh so simple and fun to create.

Thanks so much for stopping by, be sure to drop into the Facebook group to share all your craft CVS goodness! We love to see what you all create too.

Until Next time, happy Scrapping
Michelle xx


Thursday, July 18, 2019

CUT to YOU | Absolutely Magical

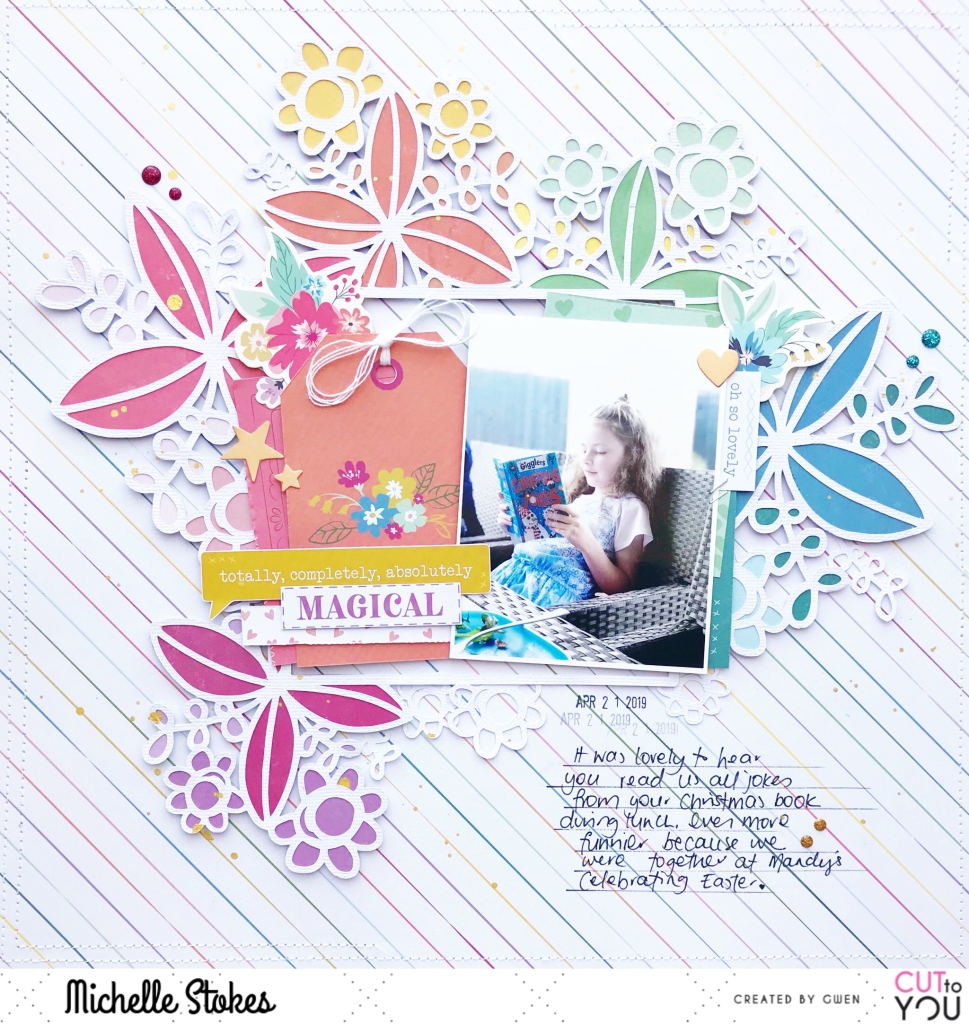
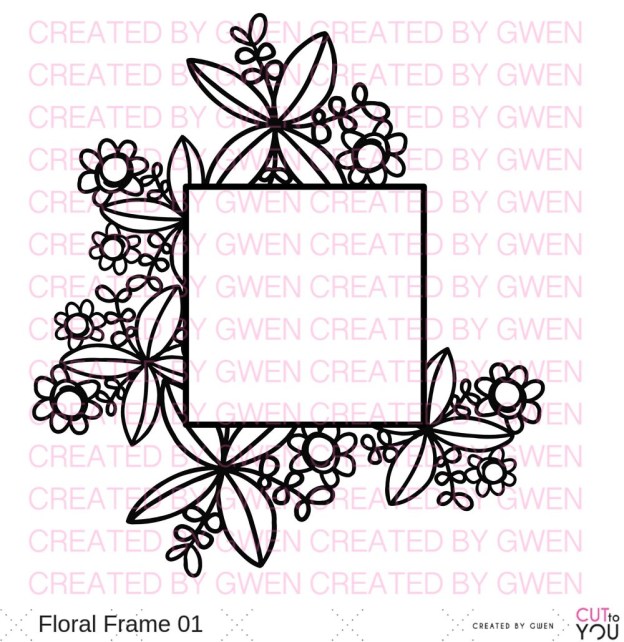
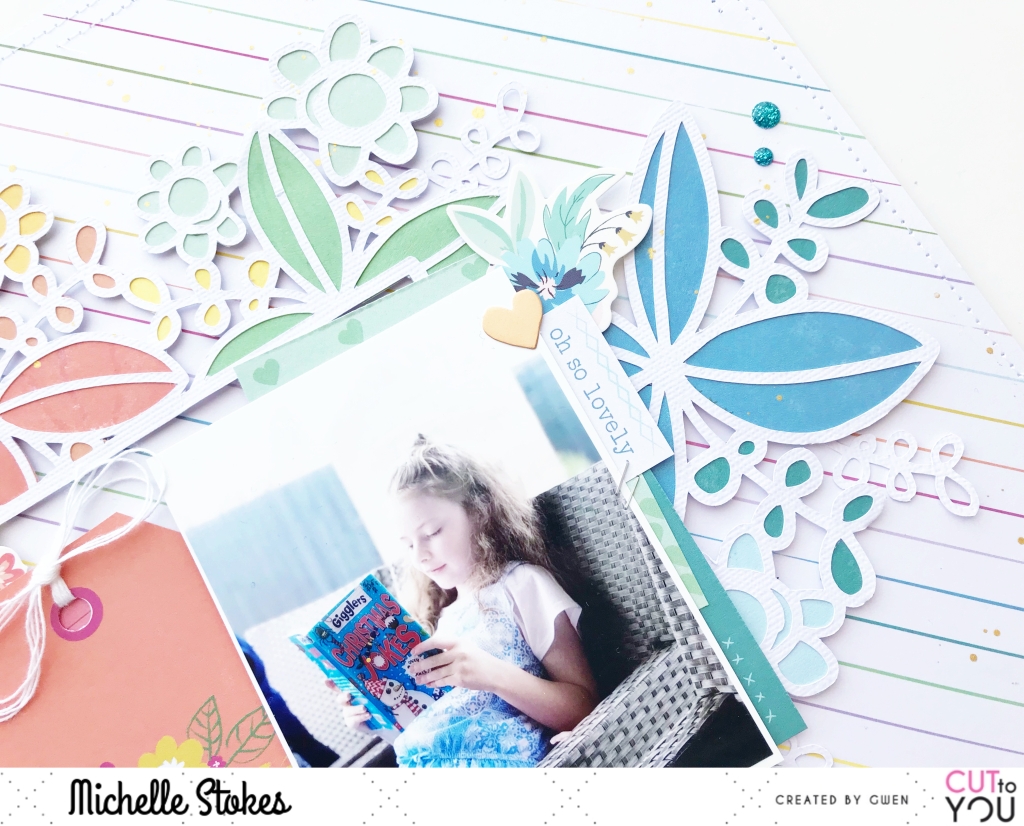
Hello Scrappy Friends I'm back here today with my next layout share for CUT to YOU! This was the very first layout I created for CUT to YOU that I've been bursting to share with you all. Inspired by so many wonderful rainbow effect layouts created by others and featuring the sweet Floral Frame 01 cut file 

I've chosen a sweet photo of my daughter Leila from Easter Time, reading to us from her Christmas Jokes book. What a laugh that was!

To begin this layout I went straight to Silhouette Studio to cut my file using white cardstock. I kept the file quite large so that it would fill a majority of the 12x12 paper background without taking over too much.

I chose a collection that I've been hoarding for quite a few months - Whimsical by Paige Taylor Evans. This was purely for the rainbow assortment of block colours which are perfect for backing all the florals within this cut file design.


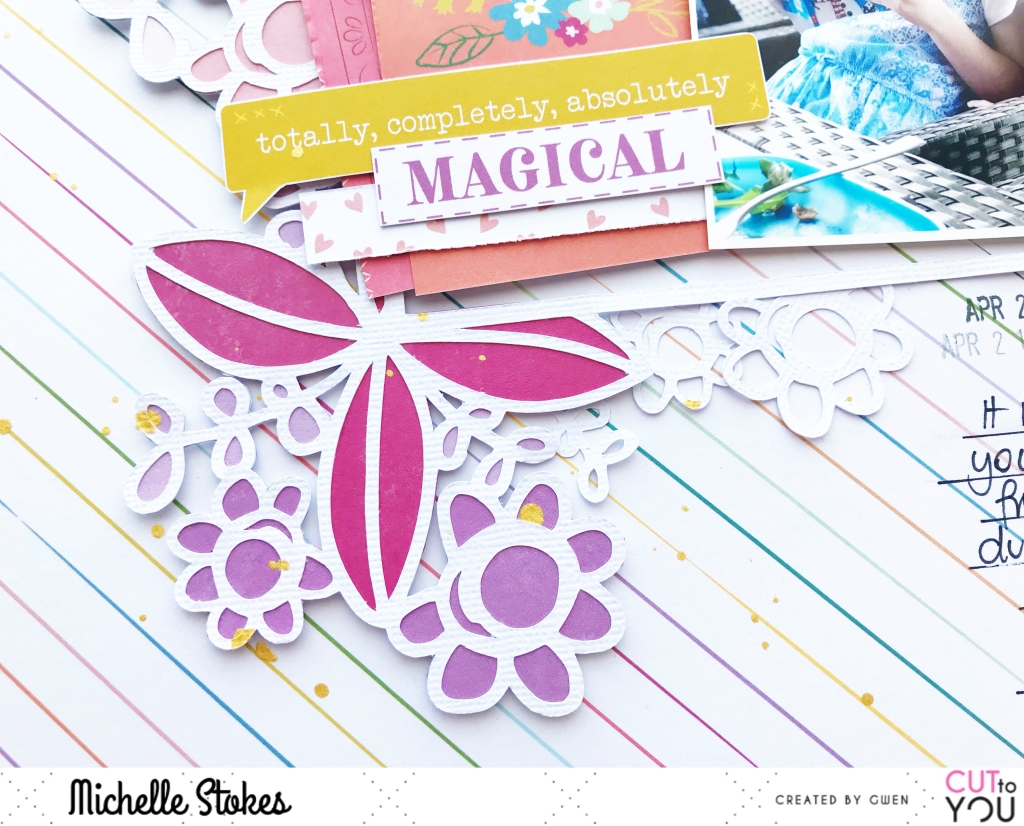
I started with the purple hues and worked my way around the cut file finishing off with greens and blues. I chose the darker of the hues for the large 4 piece floral and the lighter for the smaller flowers and leaf stems. I also added in some extra non backed pieces as subtle layers within the clusters


I've raised the entire cut piece off the pattern paper background with LOADS of foam tape. I really like the dimension effect foam tape gives to a layout without bulking it up too much. This allows plenty of space to tuck in embellishments for extra pops of colour and layers. Love me some layers!


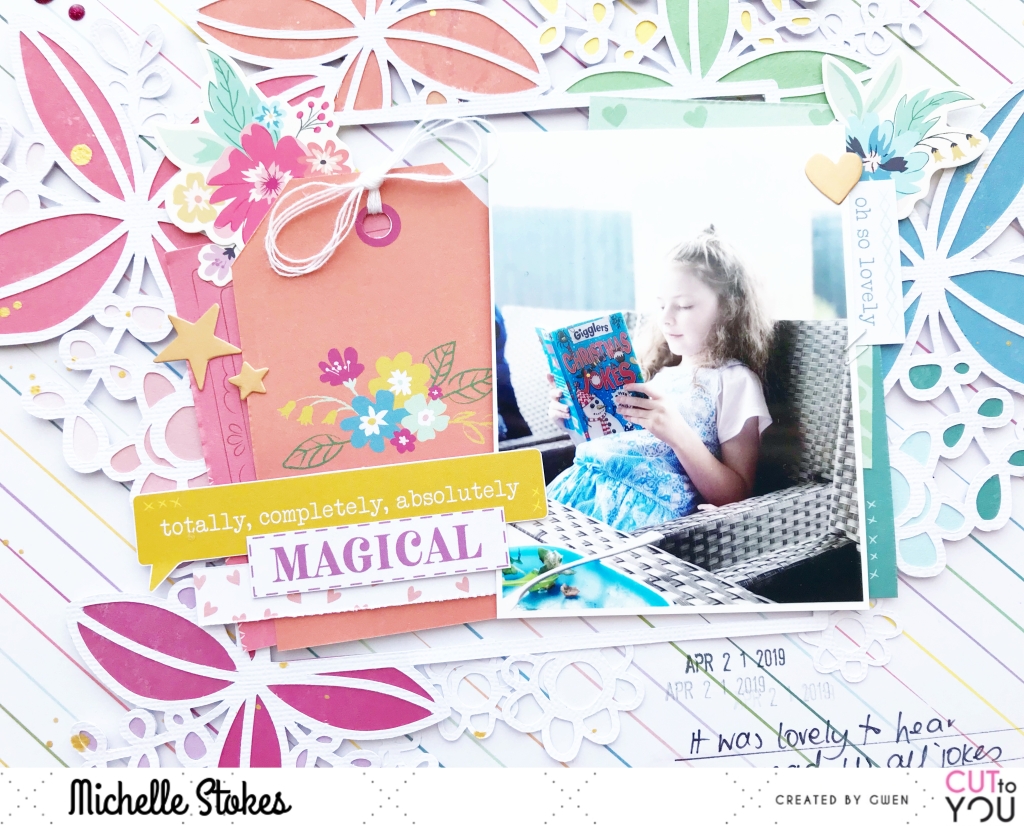
In the middle of the frame I added the photo and layered tags and pieces of pattern paper that compliment the side of the frame that they're touching. I added strips of text to create my title rather than using big alphas. This made it blend all together helping the photo and cutfile become the heroes on the page rather than a massive title.


Lastly a sprinkling of enamel dots from Cocoa Vanilla Studio, a splattering of gold Colour Shine, some handwritten journalling, date stamp and some machine stitching around the edges and I called it done.


Thank you so much for stopping by today! Make sure you stop by the CUT to YOU store to check out all the new files that have just been released. And if you're not already aware - we have a little community group on Facebook where we welcome you to share all your creations using all the fun CTY cut files you've used!

Until Next time, Happy Scrapping 

Michelle xx


Thursday, July 11, 2019

Cocoa Vanilla Studio | Grade Two

Hello Hello! I'm back here today with a new instalment of Throwback Thursday for Cocoa Vanilla Studio . The day when we throw it back to an 'older' collection and give it some love and attention. For my layout today I've tied in 4 of our Boy themed collections to create one wonderful mix mash of rainbow ish grid design with a sprinkling of stars - one of my favourite embellishments to use when I've got no florals.


Truth be told I tried to start this layout WEEKS ago when I had a certain design in mind to try out. Long story short it failed and I came up with this. I mixed pattern papers from Boys Rule (6x8 paper pad), You RockTotally Rad and Made of Awesome to create a grid style pattern and from there I just kept adding.. I've dipped into so many different packs from these collections and it was so much fun! I'll leave links to each collection at the end of this post, please bare in mind that some things may be sold out.


I really wanted to create a rainbow effect using these collections, but didn't want the squares to over power the photo of Leila, taken earlier this year for School. I changed it to Black and White to ensure it stood out rather than blending in with the colours of the background.


I layered a black and white patter paper (RANDOM - You Rock Collection) under the photo with a couple of yellow pieces -- part of a frame from the You Rock ephemera pack and a yellow ticket sticker from the Totally Rad accessory sticker sheet. The 'LOVE IT' tab sticker is from the newer Boys Rule accessory sticker sheet. The red words piece is from the cut apart sheet (Random) in the You Rock collection, and 'THE ORIGINAL' sticker from the You Rock accessory sticker sheet.


All 3 items within this sweet blue cluster can be found in the Totally Radcollection - The sweet enamel hearts I've used are in a pack that also contain stars and dots. The Smile flag can be found on the Mix Tape cut apart sheet and the striped arrow sticker on the accessory sticker sheet.


The alpha stickers I've used come from one of the older Boy collections - Made of Awesome- which is one of the very first collections I ever got to work with before joining this wonderful team. I also used the black centre dot from the numbers as an 'embellishment' in the top left and bottom right corners of the layout. 


This camera piece was cut from the Random cut apart sheet of the You Rock collection, along with the red chevron piece and the wash tape stickers. That GIANT star can be found on the Totally Rad accessory sticker sheet, and the RAD sticker on the You Rock accessory sticker sheet.


The bigger yellow stars along with the red and blue stars sprinkled around the layout are cut from the Starshine paper in the You Rock collection. The smaller grey with word type stars are from the Stellar paper in the Totally Rad collection. The chipboard stars (one yellow and one orange) have come from the You Rock collection, the 100% pure Awesome circle is a sticker from the Made of Awesome accessory sticker sheet. And lastly the clear word stickers are from the more recent Boys Rule clear stickers pack.

I hope you've enjoyed seeing my take on 'Throwback Thursday' this month. Be sure to check out the links below and snap up any of the remaining collections you like before they're all gone!

Until next time, Happy Scrapping
Michelle x


BOYS RULE Collection
YOU ROCK Collection
TOTALLY RAD Collection
MADE OF AWESOME Collection

Thursday, July 4, 2019

CUT to YOU | Lets Party

Hello fellow Crafters! I'm back here today with my very first layout share for Cut to You! I am so unbelievably EXCITED to be here sharing my work with you all, so lets get straight into it..


As this month is the very first birthday for Cut to You I thought Id create something that follows along with that theme, and ties in with our newest Inspiration Board. Such a sweet colour palette to create with. So Inspiring!


There are a couple of new files this month that are PERFECT for documenting a birthday theme, in particular the BALLOONS, and LETS PARTY text. I thought these designs would work wonderfully with the sweet photo of my daughter Leila from her first birthday party.


I started the layout by creating the large title using the LETS PARTY text (shown below) and resized it to approximately 8.5x4.5 inches in silhouette studio, then cut it out on white cardstock. Next I cut the backing piece out of pattern paper by only choosing the outline of the cut file. I find this is the easiest way to back a cut file if you're only using 1 pattern paper.


I also added some more sparkly gold glitter and a complimentary pattern paper to these hearts.


Next I worked on the balloons by following the same techniques as I did with the title piece. Resizing and cutting the main file using white cardstock, editing the file in silhouette studio to only show the main outlines and re-cutting using the gold glitter paper to back the detailed parts of the balloons. I also backed the 2 rounder balloons with some vellum for a softer feel.


I arranged the balloons around the title and photo stack and adhered using some foam tape and glue dots to give them some dimension.


Tucked in a few ephemera pieces to add detail and balance to the layout, and a sprinkling of gold colour shine to add some finishing touches.


Well thats all for me and my very first share. I hope you like it!
Until next time, Happy Scrapping

Michelle x


Monday, June 24, 2019

Cocoa Vanilla Studio | Happy Snaps

Hello Hello Scrappy friends! I'm back here today with a bright new layout share featuring the oh so wonderful HAPPINESS collection for Cocoa Vanilla Studio. I've also snuck in a few photos of some special peeps you may already know, plus a couple of super sus 'men' haha. We all had the very best of times at this years CVS Creative Escape retreat. I cherish each and every moment spent with all these amazing ladies, we had so many laughs!


The idea for this layout started when I felt the sudden urge to fussy cut ALL of the frames from the FRAME OF MINDpaper. Every single one, including cutting the centres out of them all. I chose 6 of my favourites and arranged them with photos, vellum and 2 of the more fitting centre texts. Then I went back to fussy cutting more pretty paper, this time pieces of the beautiful floral wreath paper SO FRESHto use for layering later on.

To begin building the layout I started with some white cardstock, a big chunk of woodgrain design from the BRIGHT & BEAUTIFULand some paper strips of the hearts design paper - back side of SO FRESH. I then layered the frames in different directions using foam tape for adhesive to add dimension to the layout.


I added some alpha stickers from a very very old collection to add to the top left cluster of words and bits. Theres also a fussy cut butterfly from the 6x8 paper padand some glitter enamel dots that have made a comeback to my layouts from some of my older stash. Can you believe that amongst all of this prettiness, I didn't even open a bag of ephemera? Its all stickers and fussy cut pieces!


I layered in some of the fussy cut floral pieces to the top right and bottom left of the frames to create a slight diagonal flow to the layout. Theres also some tiny florals fussy cut from the super pretty MEADOWpaper sprinkled in there too.


I tucked in a couple of accessory stickers under photos in the frames too. Those 'men' were real sketchy at dinner one night HAHA Love a good snapchat filter... So does Zoe ;)


Lastly I added in some clear stickers to create a little mixed media effect, without getting messy, then splattered the entire layout with gold colour shine to finish it all off..

Well thats all from me today. I hope you've enjoyed seeing a different way to use all those frames.
Thanks so much for stopping by.

Until next time, happy scrapping!Michelle xx

Tuesday, June 11, 2019

Cocoa Vanilla Studio | Happy Birthday Beautiful

Hello Scrappy friends I'm back here today with a new layout to share with you all for Cocoa Vanilla Studio. For this layout I was given the task of creating a birthday themed project, and what better collection to use to document a birthday celebration than the newest collection full of bright happy colours - Happiness. I went back a couple of years and chose a photo from Leilas 7th birthday featuring her sweet cousin and a delicious cake


I started the layout by cutting down a piece of cardstock to 11.5inch square and laying it over a piece of SPRINKLESpaper to give subtle pops of extra colour and machine stitched around the border for added detail. Next I cut a couple of banners from a set designed by fellow DT member Gwen from her cut file shop - Cut to You. I associate banners with all kinds of celebrations, and the cake has a sweet little happy birthday banner for decoration, so I felt that using the banner cut files tied it all together nicely.

I backed 2 of the triangle banners with the MEADOWpaper - my most favourite within this bright happy collection. The hearts banner I backed using the B side of EXPRESSIVE, the scallop banner using the B side of GOOD VIBESand the 3rd triangle banner is backed using green patterns from the B sides of FRAME of MINDand LITTLE THINGSplus the 'green' sections of GOOD VIBES.


After sewing the tops of all the banners with my machine, I layered them randomly down the layout and adhered them using glue dots for dimension. Next I added my photo which I've layered with multiple pops of colour using an ephemeraframe, cut apart cards from theLITTLE THINGSpaper and a little more of the B side of GOOD VIBES.


Then it was on to the embellishing part of creating fun layouts. I created a couple of similar clusters at the ends of the banners (within a visual triangle) using floral EPHEMERApieces, CLEARstickers, ACCESSORYstickers, some fussy cut florals and butterflies from the BRIGHT & BEAUTIFULpaper. I realised a few weeks back that the tiny florals within the ephemera packs are almost always the first items I use up before the packs even open HAHA so I've resorted to fussy cutting the tiny florals from the MEADOWpaper and gosh they are cute!


I dipped back in to some older stash for these white alphas from the Colour Me Happy collection, sadly they're not currently available in the shop. The perfect accompaniment for this mixed title - CARDSTOCK TITLE piece, WHITE ALPHAS and a word sticker from the ACCESSORY sheet


Heres a closer look at one of the lower clusters. I just LOVE tiny flowers.. fussy cutting them out, not so much !


Lastly I added a splattering of gold colour shine and called it done

Thats all from me today. I hope you've enjoyed taking a closer look at my fun birthday themed creation. Be sure to pop into the Cocoa Vanilla Studio group on Facebook to share all your birthday themed creations with us

Until next time, Happy scrapping!
Michelle x